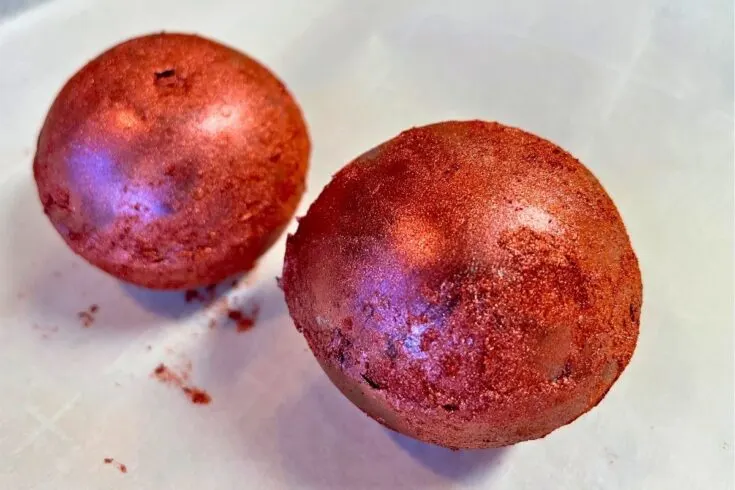
Edible glitter makes these DIY hot cocoa bombshells extra special. They make a great DIY Christmas gift.
DIY Hot Cocoa ornaments are so fun – you put them in a hot mug of milk or water, and they dissolve into a wonderful hot cocoa drink.
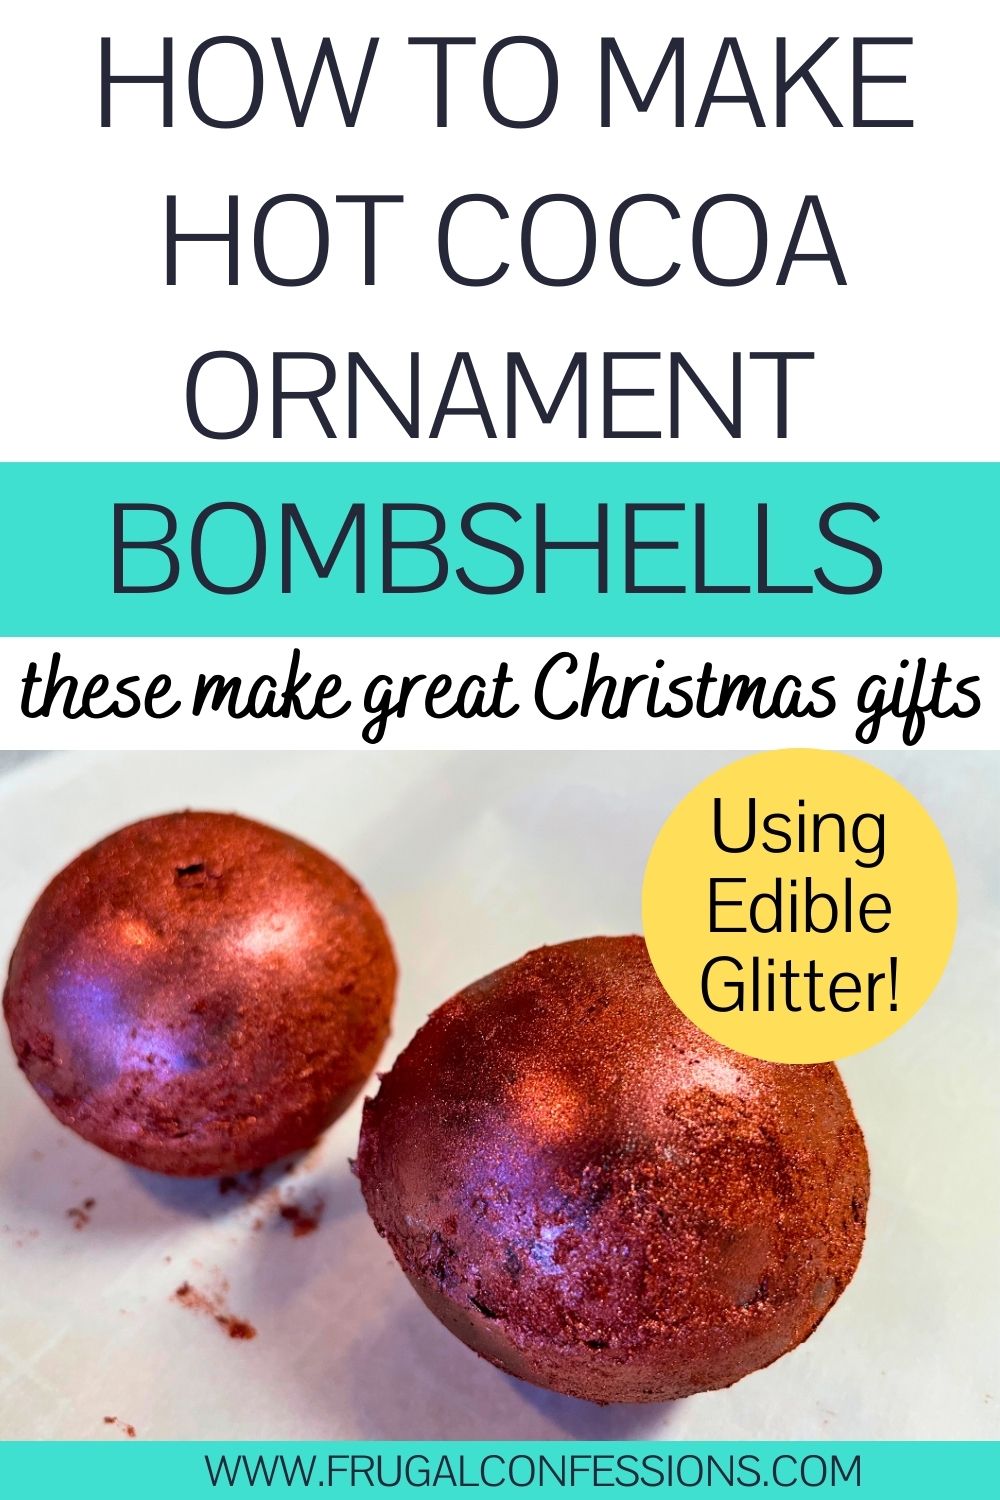

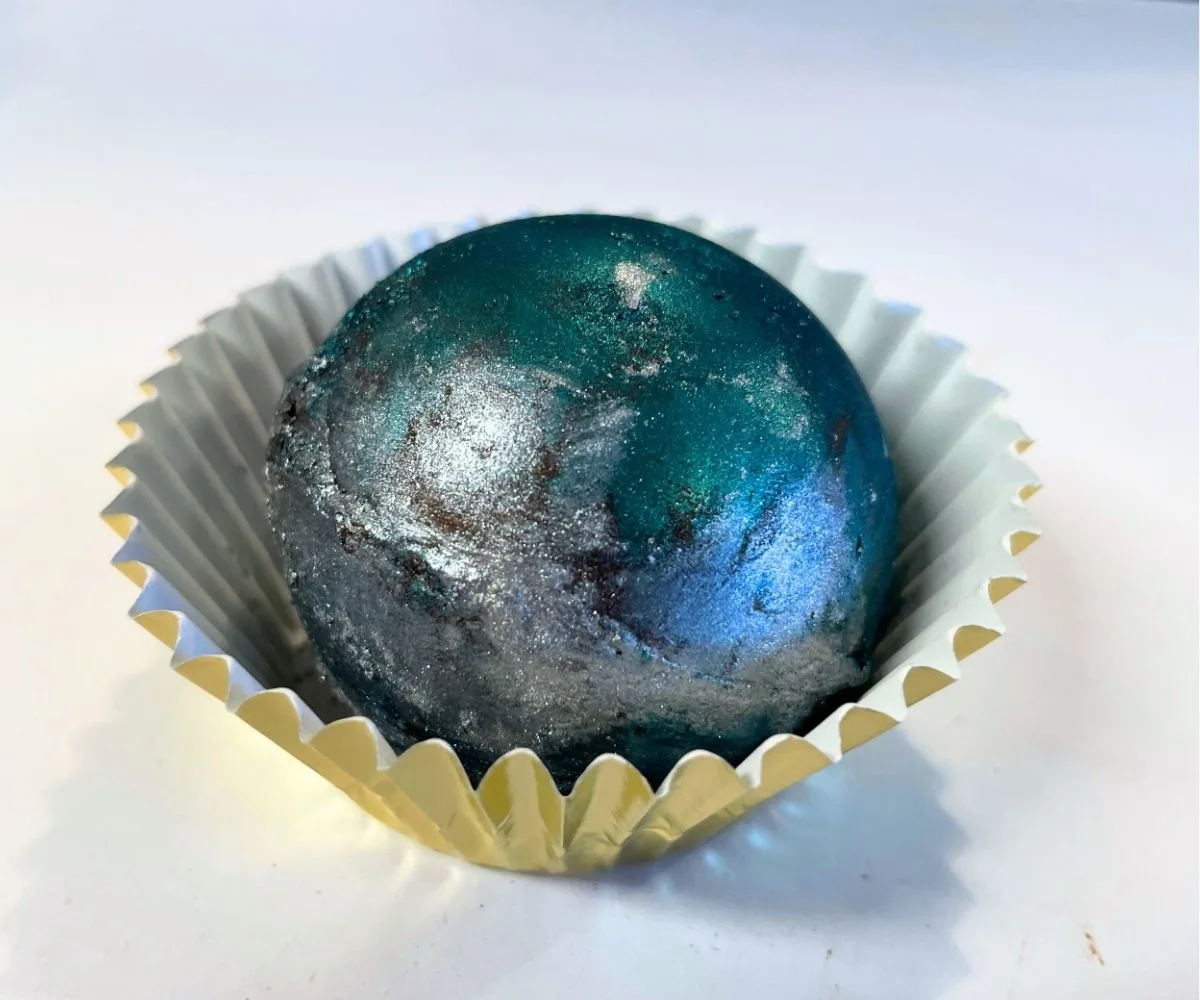
The edible glitter these are dipped in makes all the difference.
They do this fun, swirly glitter look in everyone’s mugs. Almost magical!
Once you get the process down, there are any number of ways you can make these to vary things up (I’ll give you some ideas, below).
How to Make DIY Christmas Ornament Hot Cocoa Bombshells
Ingredients:
- ¼ cup Cocoa Powder
- ½ cup Sugar
- ½ tsp. Cinnamon (optional)
- Pinch of Salt
- Edible glitter (here is the silver, burgundy, and teal I use)
- 1 cup Semi-Sweet chocolate chips
- Mini marshmallows
- Sprinkles (optional)
Yields: 6
Tools You’ll Need:
Instructions:
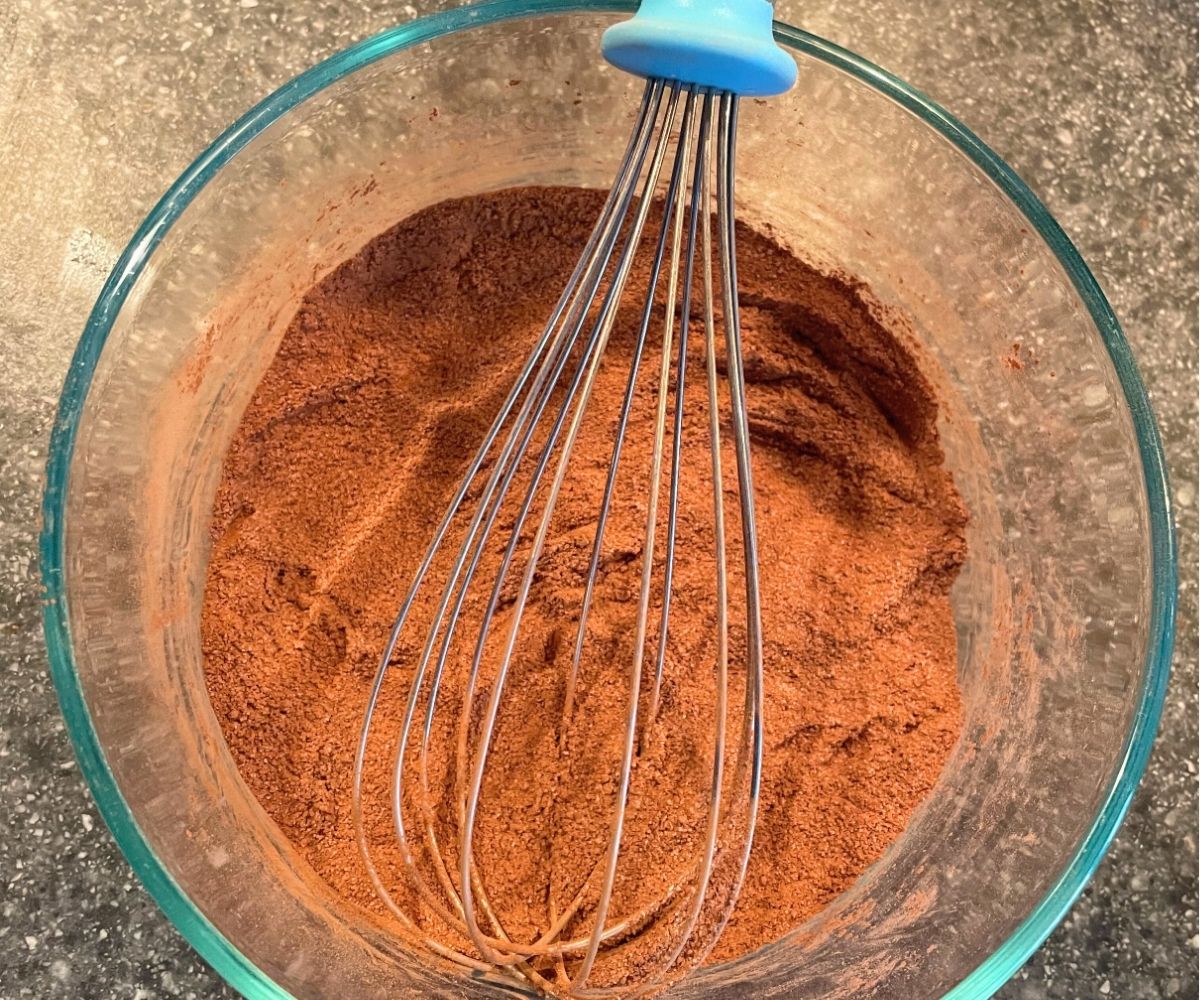
1. Make the hot cocoa mix by mixing together ¼ cup cocoa powder, ½ cup sugar, ½ tsp. cinnamon (optional), and a pinch of salt. Add in sprinkles, or anything else you’d like to.

2. Melt the chocolate. Put the chips into a microwave-safe bowl, and melt on “defrost” in increments of 30 seconds. Stir after each increment. Do this until fully melted.
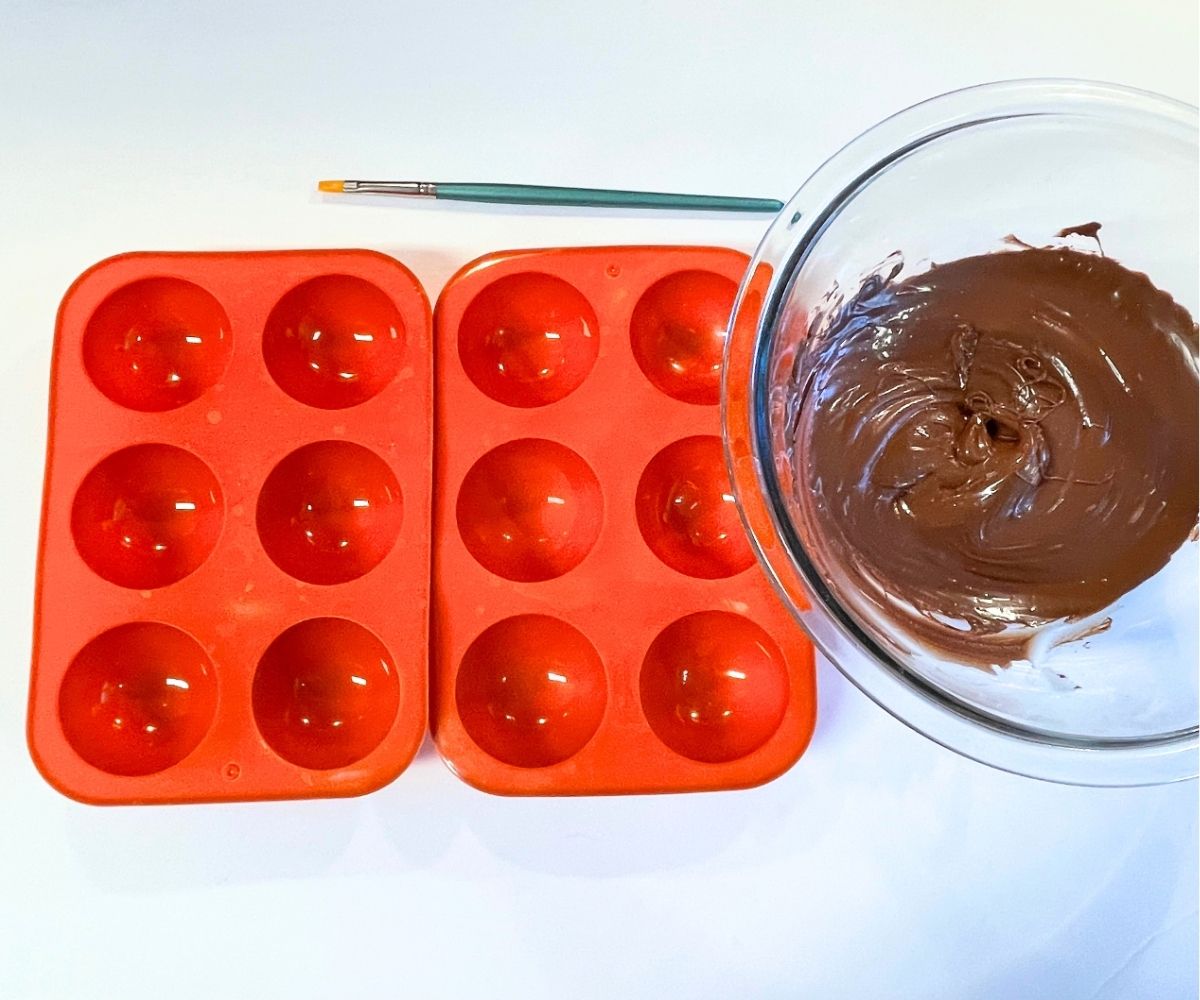

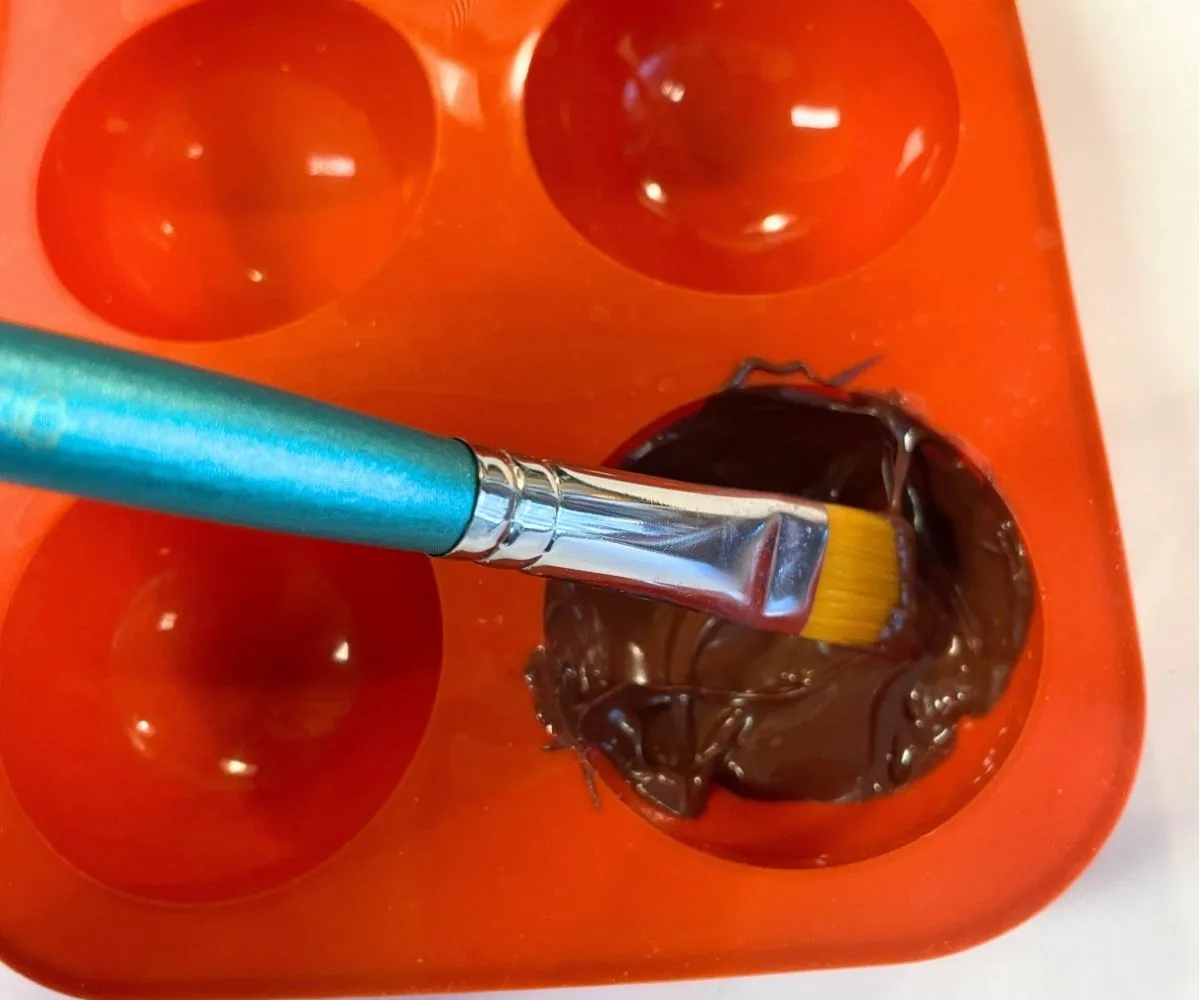
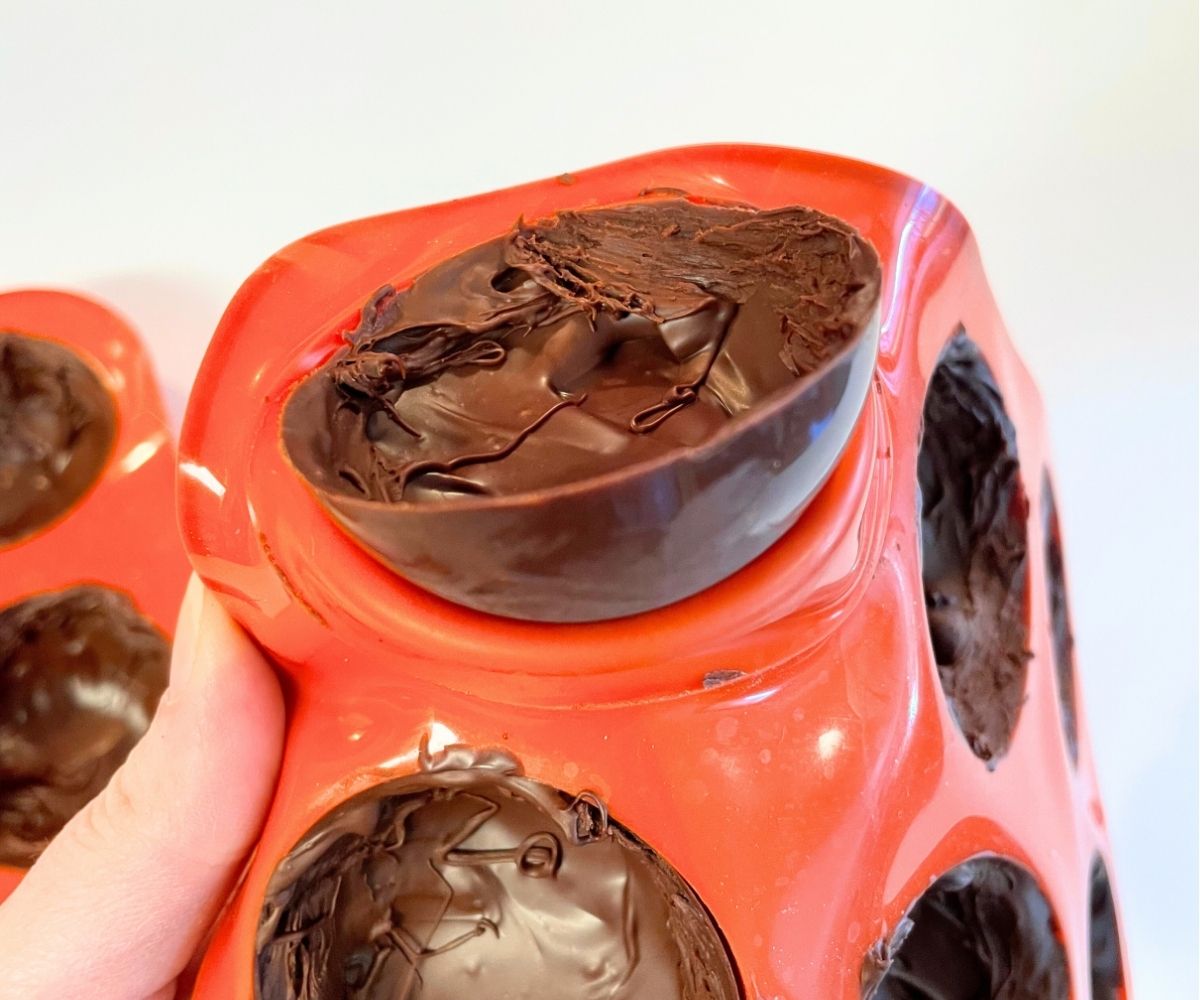
3. Pour about ¼ tbsp. (or ¾ tsp.) of melted chocolate into the bottom of one of the chocolate bomb molds. Using the food-safe brush, brush the chocolate around the edges until covered. Repeat until each mold is covered in chocolate.

4. Refrigerate or freeze the molds for 5-10 minutes, or until fully set.
5. Re-melt chocolate a bit if needed.
6. Do a second layer, where you’re mainly building up the wall on the side to give them a seam for the other half to adhere to. Make sure there are no cracks or weak areas (and if you find them, paint some more chocolate on!).


7. Refrigerate or freeze for another 5 minutes.
8. Pop each out of the mold, carefully (hint: if they’re cracking, then do a third layer of chocolate and pop them back into the fridge).

9. Reheat the chocolate to melt, if necessary.
10. Flip the mold over, and put one half of the Hot Cocoa Ornament inside of it. Fill 1-half of each mold about ¾ of the way up with hot cocoa mix, mini marshmallows, and anything else you’d like (like sprinkles).


11. Paint a thick layer of chocolate just around the seam with a small food-safe brush.
12. Take another half, and seal it onto the seam to make a whole Hot Cocoa Ornament. Repeat until they’re all finished.


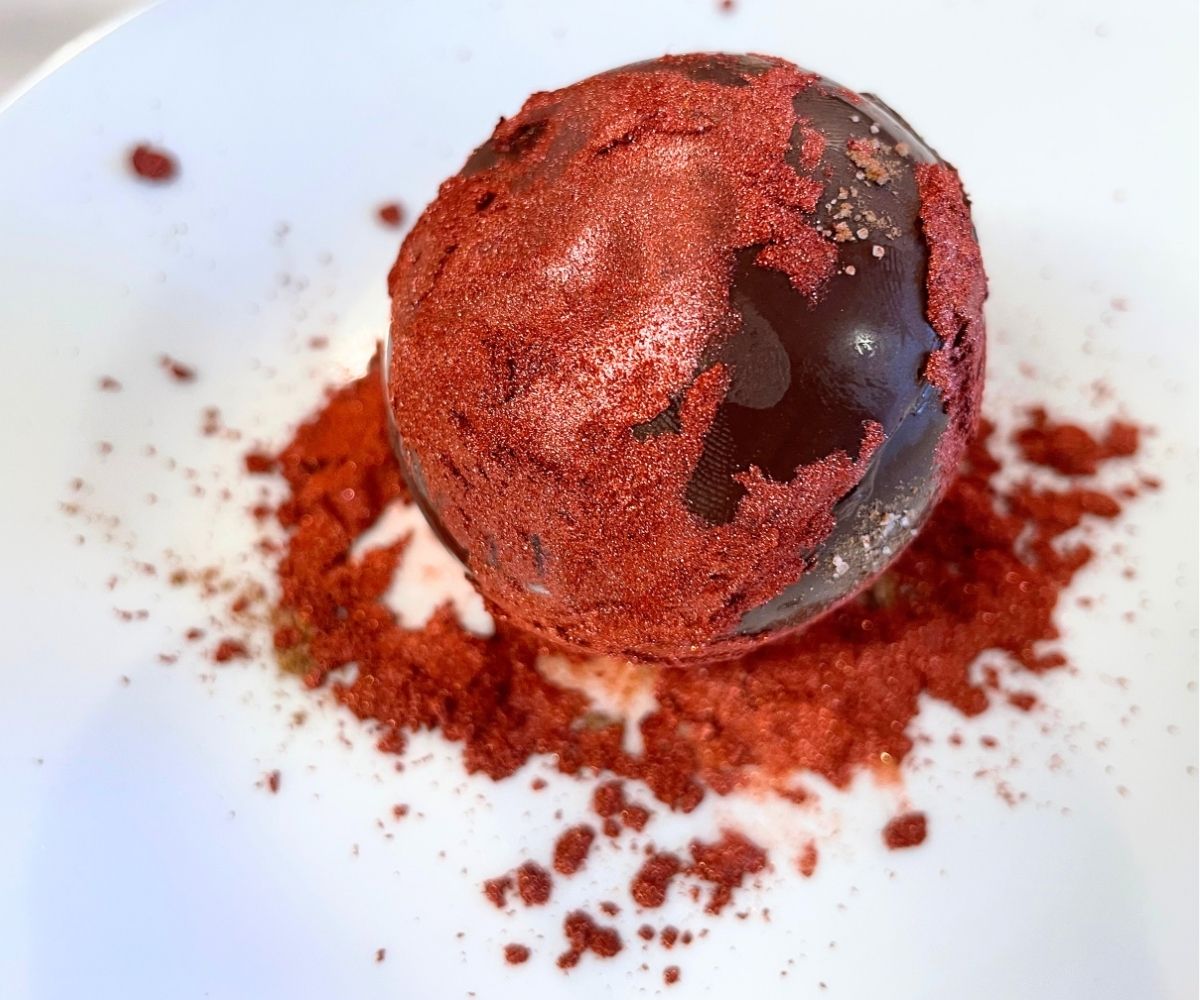
13. Sprinkle a small amount of the glitter onto a plate (a little goes a long way). Roll each ornament into the glitter. Sometimes it helps to take a brush and smooth it over the whole thing, carefully.


14. Package it up, as desired.
Since we’re rolling these into the edible glitter, you can hide a lot of imperfections (thank the Lord – mine certainly had enough!).
Here are 4 other easy Christmas treats to gift.
Hot Cocoa Bombshell Ornaments

Hot Cocoa Christmas Ornaments are so fun – you put them in a hot mug of milk or water, and they dissolve into a wonderful hot cocoa drink with edible glitter.
Ingredients
- ¼ cup Cocoa Powder
- ½ cup Sugar
- ½ tsp. Cinnamon (optional)
- Pinch of Salt
- Edible glitter (silver, burgundy, and teal I use)
- 1 cup Semi-Sweet chocolate chips
- Mini marshmallows
- Sprinkles (optional)
Instructions
1. Make the hot cocoa mix by mixing together ¼ cup cocoa powder, ½ cup sugar, ½ tsp. cinnamon (optional), and a pinch of salt. Add in sprinkles, or anything else you’d like
to.
2. Melt the chocolate. Put the chips into a microwave-safe bowl, and melt on “defrost” in increments of 30 seconds. Stir after each increment. Do this until fully melted.
3. Pour about ¼ tbsp. (or ¾ tsp.) of melted chocolate into the bottom of one of the chocolate bombshell molds. Using the food-safe brush, brush the chocolate around the edges until covered. Repeat until each mold is covered in chocolate.
4. Refrigerate or freeze the molds for 5-10 minutes, or until fully set.
5. Re-melt chocolate a bit if needed.
6. Do a second layer, where you’re mainly building up the wall on the side to give them a seam for the other half to adhere to. Make sure there are no cracks or weak areas (and if you find them, paint some more chocolate on!).
7. Refrigerate or freeze for another 5 minutes.
8. Pop each out of the mold, carefully. (Hint: if they’re cracking, then do a third layer of chocolate and pop them back into the fridge).
9. Reheat the chocolate to melt, if necessary.
10. Flip the mold over, and put one half of the Hot Cocoa Ornament inside of it. Fill 1-half of each mold about ¾ of the way up with hot cocoa mix, mini marshmallows, and anything else you’d like (like sprinkles).
11. Paint a thick layer of chocolate just around the seam with a small food-safe brush.
12. Take another half, and seal it onto the seam to make a whole Hot Cocoa Ornament. Repeat until they’re all finished.
13. Sprinkle a small amount of the glitter onto a plate (a little goes a long way). Here is the silver, burgundy, and teal I use. Roll each ornament into the glitter. Sometimes it helps to take a brush and smooth it over the whole thing, carefully.
14. Package it up, as desired.

Amanda L. Grossman is a writer and Certified Financial Education Instructor (CFEI®), Plutus Foundation Grant Recipient, and founder of Frugal Confessions. Over the last 17 years, her money work has helped people with how to save money and how to manage money.
She’s been featured in the Wall Street Journal, Kiplinger, Washington Post, U.S. News & World Report, Business Insider, LifeHacker, Real Simple Magazine, Woman’s World, Woman’s Day, ABC 13 Houston, Keybank, and more. Read more here or on LinkedIn.